
A microdairy is a tiny, small-scale dairy farm that produces about 500 liters of milk a year or less.
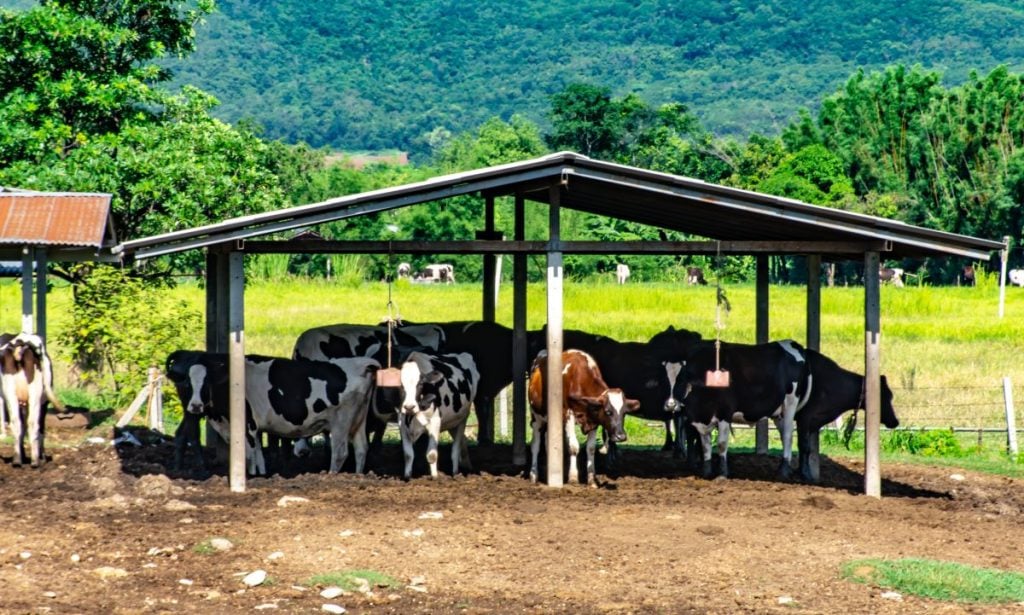
Microdairies are typically smaller than 5 cows, and are generally located on a farm where other livestock such as pigs or chickens are kept as well.
They can range in size from a few gallons of milk a day to several gallons a day.
They can be housed in pens or barns on a farmer’s property, or they can be set up as portable units that can be moved around as needed.
A microdairy can be a rewarding enterprise for farmers, as they are often able to sell their milk for a premium due to the quality of the milk they produce.
They also can practice sustainable farming practices, which protect the environment and keep their production costs low.
Pros and Cons of Starting a Microdairy
Like any other business venture, starting a microdairy has pros and cons. Here are a few to consider:
A few of the pros of starting a microdairy include:
- The opportunity to be a sustainable farmer and preserve the environment by producing high-quality milk locally.
- The opportunity to control every aspect of the production cycle, including feeding, breeding and calving animals, and controlling the animals’ access to pasture and other amenities.
- The ability to sell raw milk directly to the consumer, without going through a third party.
- The ability to be more flexible in how you sell your milk, and which markets you enter.
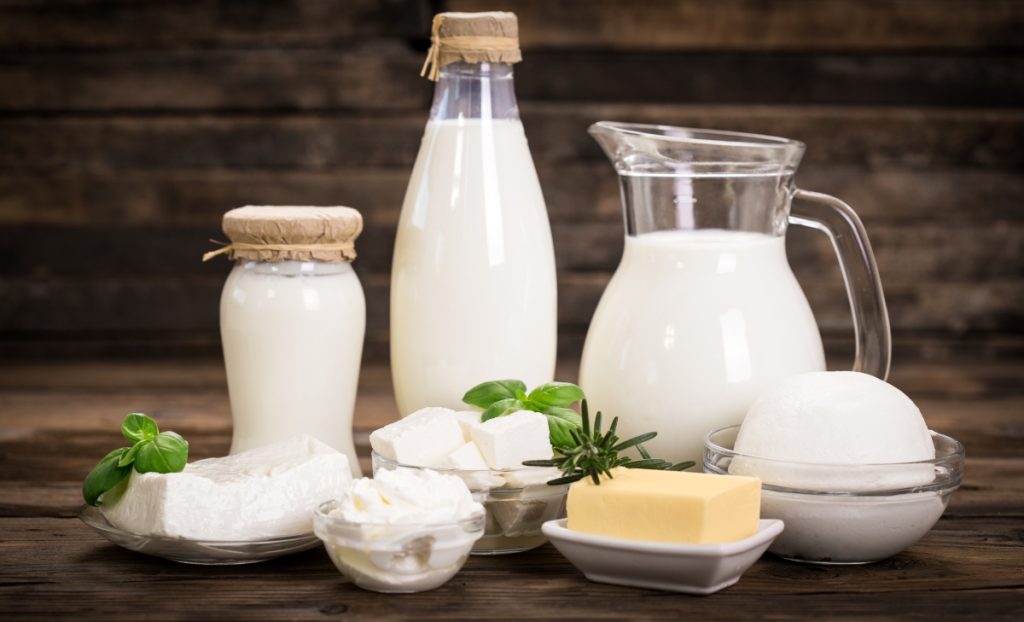
- The ability to sell premium milk products, such as yogurt, cheese, and ice cream.
- The ability to use Grade B milk, which has a higher fat content and a higher butterfat content than Grade A.
Some of the cons of starting a microdairy include:
- The need to purchase specialized equipment to make their operation a success.
- The need to manage your business daily and ensure that your are producing a quality product regularly.
- The risk of contamination during the production of dairy products which could lead to the loss of customers.
Step-by-Step Guide to Starting a Microdairy
Before you can start your microdairy, you will need to acquire some basic equipment.
You will need a milk separator, which separates the milk into cream and liquid milk.
You will also need some sort of refrigeration system to maintain a temperature of at most 35 degrees to prevent bacteria from growing.
You will also need an animal barn where the cows can be kept. Finally, you will need some way to deliver your products to your customers.
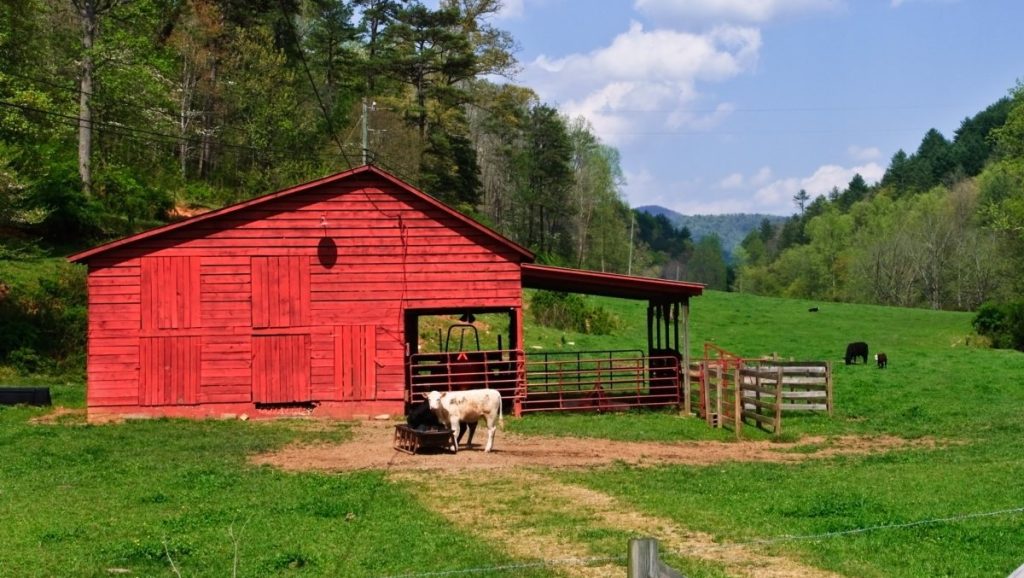
Step 1: Prepare the Barn
Preparing your barn involves cleaning it thoroughly and removing any obstructions that might make it more difficult for the cows to move around freely.
You should install fans for ventilation and misters to prevent heat stress in the cows. You should also ensure that all the gates in the barn are secure and that the roof is in good condition.
This will help ensure that your cows stay healthy and that your milk remains safe for human consumption.
The floor of your barn should be flat and made of some impervious material, such as concrete or rubber.
The floor of the milking shed should be set up so that the cows face outward. This way, they can comfortably walk to the holding yard after milking without injuring themselves.
You will also need to prepare a separate feeding area for calves. This area should have a low-sided feeder to allow the calves to feed comfortably.
A barn that is connected to a milking center may have sloped walkways depending on the existing elevations and the configuration needed to meet the needs of the farm’s operation and products.
The ideal approach to construction is to have ramps in place to facilitate the flow of animals as they come and go from their various pens and/or delivery points.
A free-stall barn should have enough stalls for the number of cows that will be milking. The average number of stalls per cow will depend on the size of the cows and the age of the facility.
Stalls should be at least 3′ wide and 4′ high with solid partitions down the middle of the stall to prevent the cows from turning around and hurting themselves.
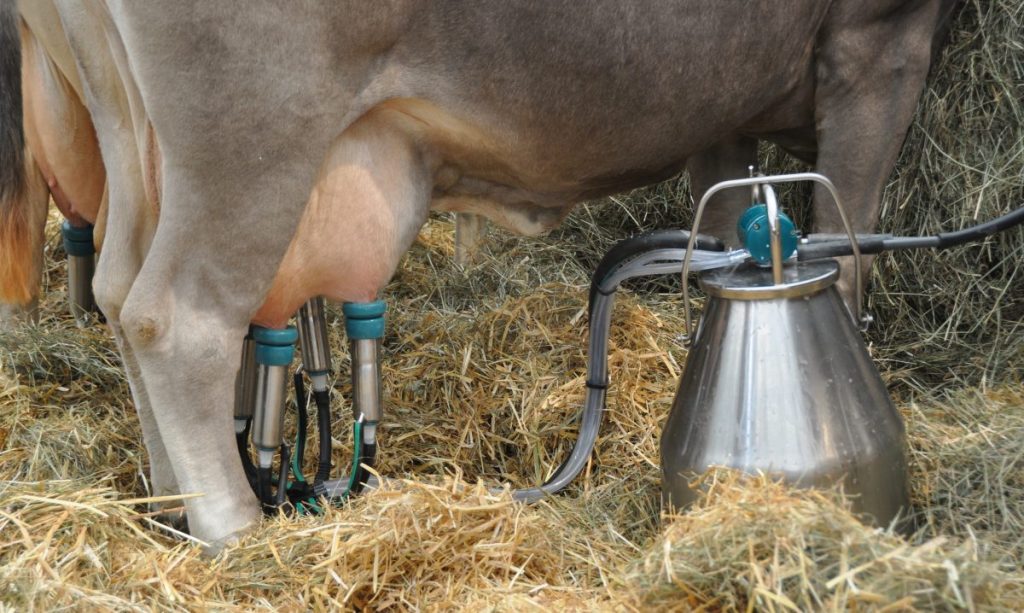
Step 2: Install Your Milking System
Once you have bought your cows, you will need to install your milking system. This involves connecting a milking machine to the teats of each cow to collect the milk.
The milking machine is connected to a set of pipes that transport the milk from the cow to a container. The milking machine can be powered by electricity or gas.
Gas-powered milking machines are generally considered to be more efficient and reliable than electric ones.
Step 3: Choose Your Cows (Pregnant cows, replacement heifers, and milking cows)
The best type of cow for your microdairy will depend on the space available, milk production, and desired size.
Pregnant cows will produce a lot of milk at first, but their production will slow down after they deliver their calves.
Replacement heifers will not produce as much milk as milking cows but they can be used to start a herd from scratch.
Some dairy farmers choose to raise their replacement heifers from birth; however, this can be quite expensive. You will need to purchase your cattle from a breeder or auction yard.
Most dairy breeders are willing to sell their young stock to people who want to start a farm.
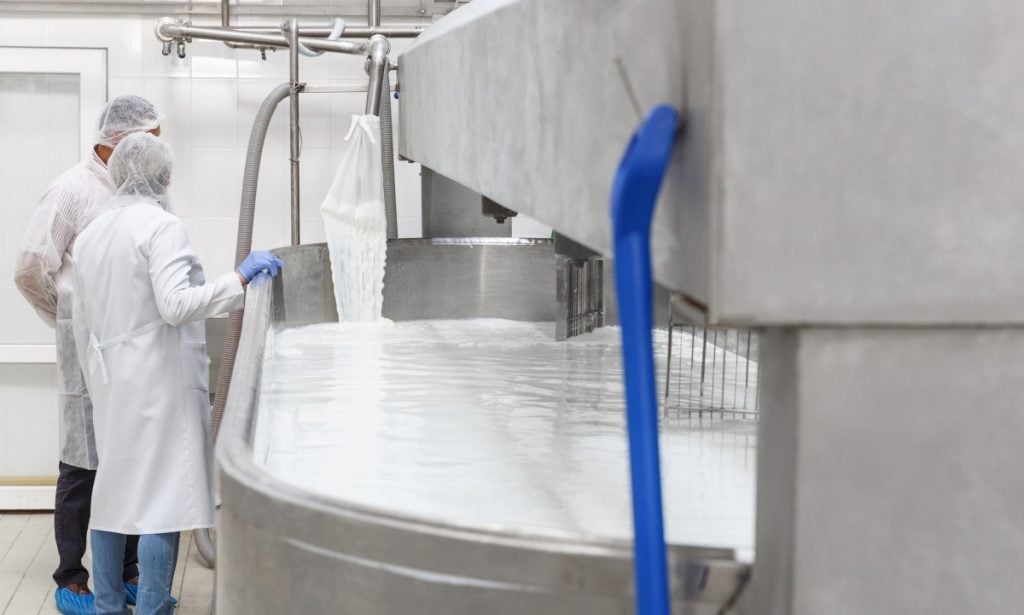
Step 4: Find Processing Facilities That Accept Microdairies (If you don’t have your own processing facility)
You will need to find a processor that will process your milk. This can be a difficult and time-consuming task because there are so many processors out there to choose from.
Some processors will accept milk from smaller operations while others will only accept milk from large farms. You need to find a processor that will meet the specific needs of your farm.
Check the processor’s website to see if they can process the quantities of milk that you produce each month. Also, find out what other facilities the processor works with.
Remember, you may need to pay to have milk transported to your processor.
You may also have to pay to have your milk tested to ensure that it is safe for human consumption.
Many processors will not test their milk unless it is purchased in bulk, so you will need to pay for testing separately.
Step 5: Sell Your Products and Secure Funding (Optional)
To sell your products, you will need to find a distributor.
The best way to find a distributor is to contact local stores and supermarkets and ask them if they would be willing to carry your products.
They are more likely to work with you if you have a proven track record of success. Some farmers also market their products directly to consumers, but this is more difficult.
You will likely need to invest in additional equipment such as a website and advertising materials to do this.
You will also need to develop a marketing strategy for your product. This will be important in selling your products to retailers and consumers.
Farmer’s market sales alone may not generate enough money to make a living, requiring you to look at additional market channels or sources of funding such as loans, equity financing or even crowdfunding platforms.
Check out the USDA Rural Business Enterprise Grant Program to help facilitate these types of ventures and learn more about how these programs can help you secure the funds necessary to sustain your business.
Final Thoughts
Starting a microdairy can be a complicated process, but it is worth the effort. There are grants available to help you get started.
So get out there and start making a difference in your community today! For more ideas, don’t forget to visit our Homesteading Hub.
Source link