Need a winter sport that is easy, fun, and inexpensive? Learn how to snowshoe! When the conditions on the ski hill aren’t great or maybe ice skating just isn’t your thing, grabbing a pair of snowshoes and a friend or two is a perfect way to help you get outside in the winter.
Not only does snowshoeing suit people of all ages and abilities, but it’s also a simple way to enjoy a beautiful winter day (even if you’re a winter hater!). Learn the basics of how to snowshoe, how to find trails, and what gear you need to be comfortable in this beginner’s snowshoeing guide.
What is Snowshoeing?
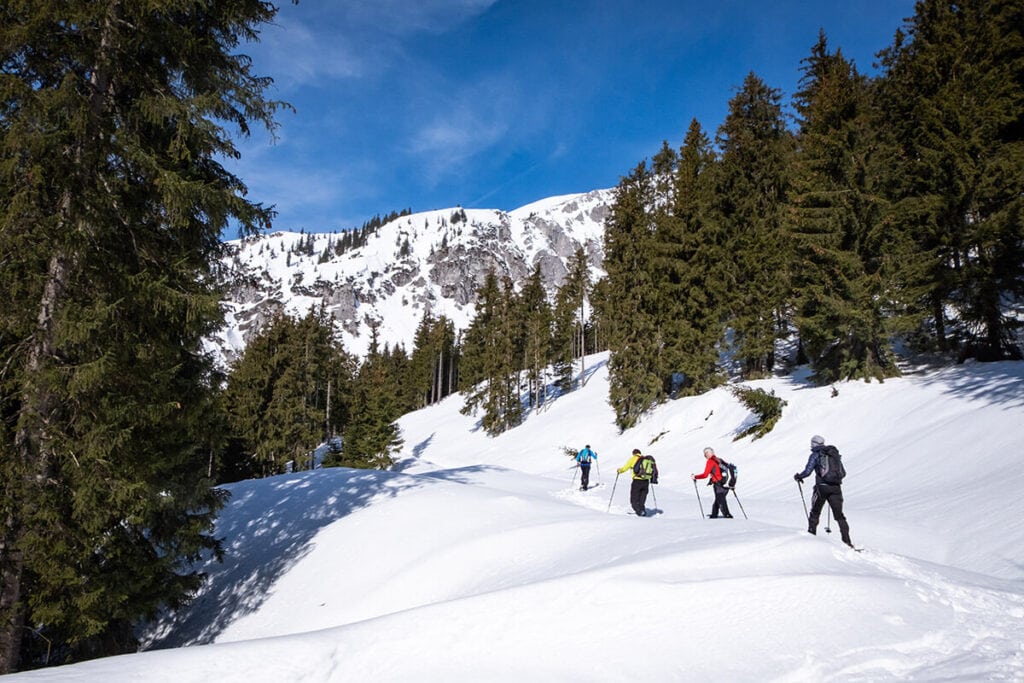
To put it simply, snowshoeing is an easy way to go winter hiking in snowy conditions. Hiking in snowshoes prevents you from sinking into the snow by floating along the surface with an effortless gliding quality that keeps them on top of the snow.
It’s a great activity for people who can’t do more vigorous snow sports or are looking to take up a winter sport that isn’t as risky or physically demanding as, say, skiing or snowboarding. However, you can increase the difficulty by snowshoeing on steeper, more mountainous terrain. Flat and rolling terrain is much more suitable for beginners and is a great way to get used to snowshoeing since you’ll be using certain muscles differently than you might be used to. There are tons of amazing places to go snowshoeing in the US, making it an accessible winter activity.
Snowshoeing Gear 101
There are three main components to every snowshoe that will vary depending on your experience level, ability, and terrain. It’s also important to consider how your shoe size and footwear factor into your snowshoe as well (we’ll talk more about that below).
Frames and Decking
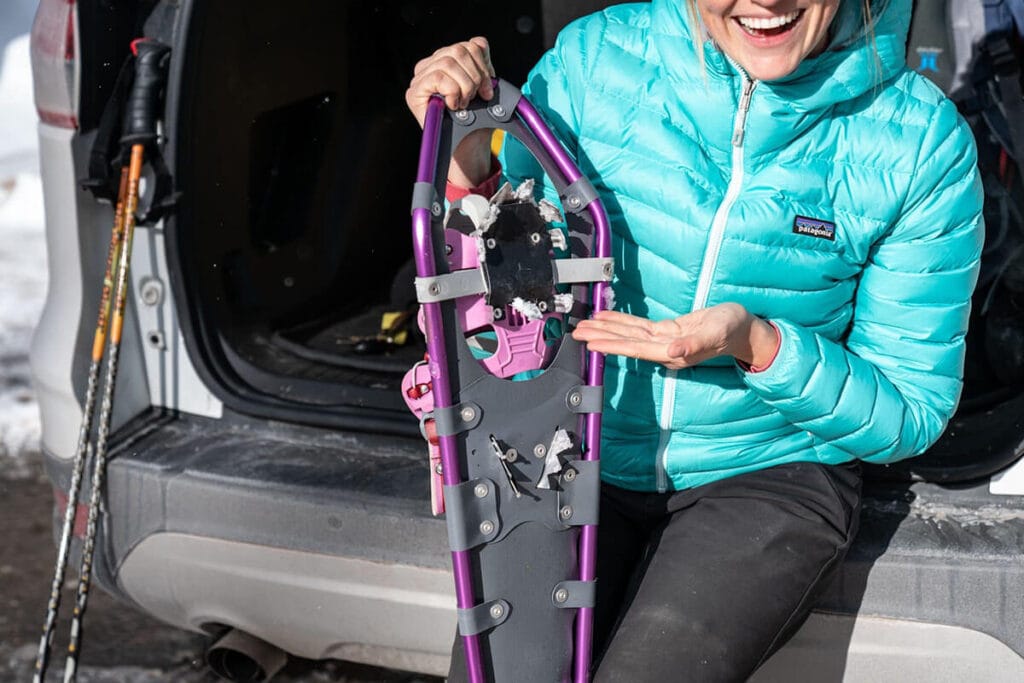
This is the basis of every snowshoe. The frames and decking provide floatation and glide on top of the snow. The frame is the outer part that gives a snowshoe its shape and the decking is the material, usually nylon, that makes it lightweight.
Bindings
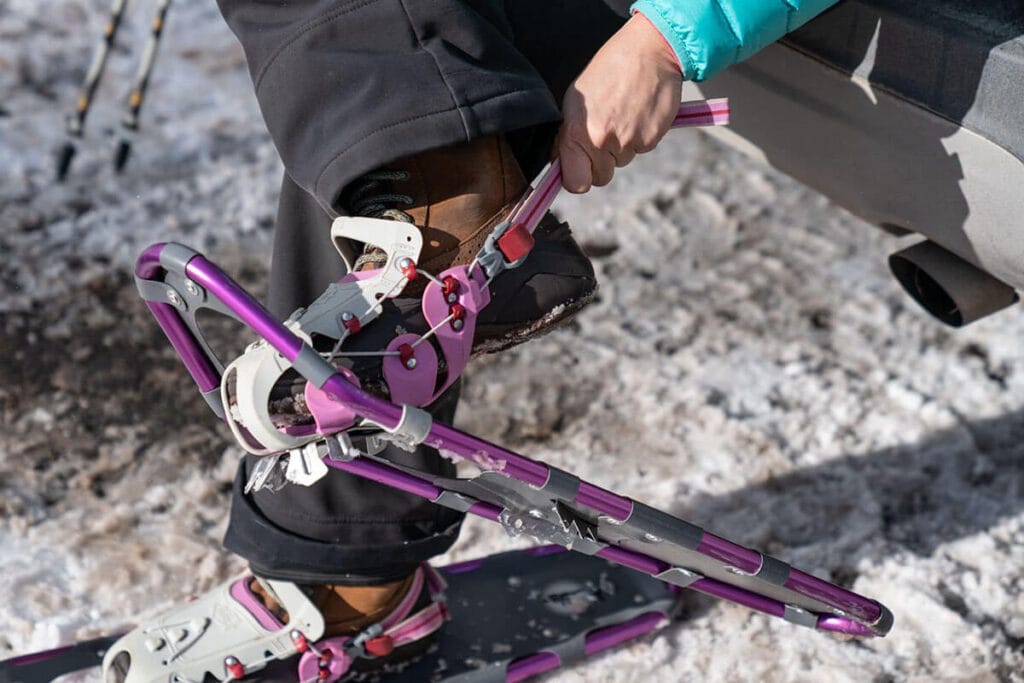
The bindings are the part that attaches your boots to the snowshoe’s frame and decking. There are two types of snowshoe bindings that you can choose: rotating (also known as floating) bindings or fixed bindings. In general, neither style is right or wrong but rather a matter of preference.
The rotating bindings only attach the toe of your boot to the snowshoe which frees up your heel from the tail for easy maneuvering through deep snow and steep slopes. They also allow your foot to pivot as needed. The majority of snowshoes fall into this category.
Fixed bindings attach the entire foot to the snowshoe, preventing your heel from lifting up. Fixed bindings are a good approach for those who like a bit more control while walking, as you can easily back up or step over obstacles. However, they don’t allow as much pivot as rotating bindings.
Traction
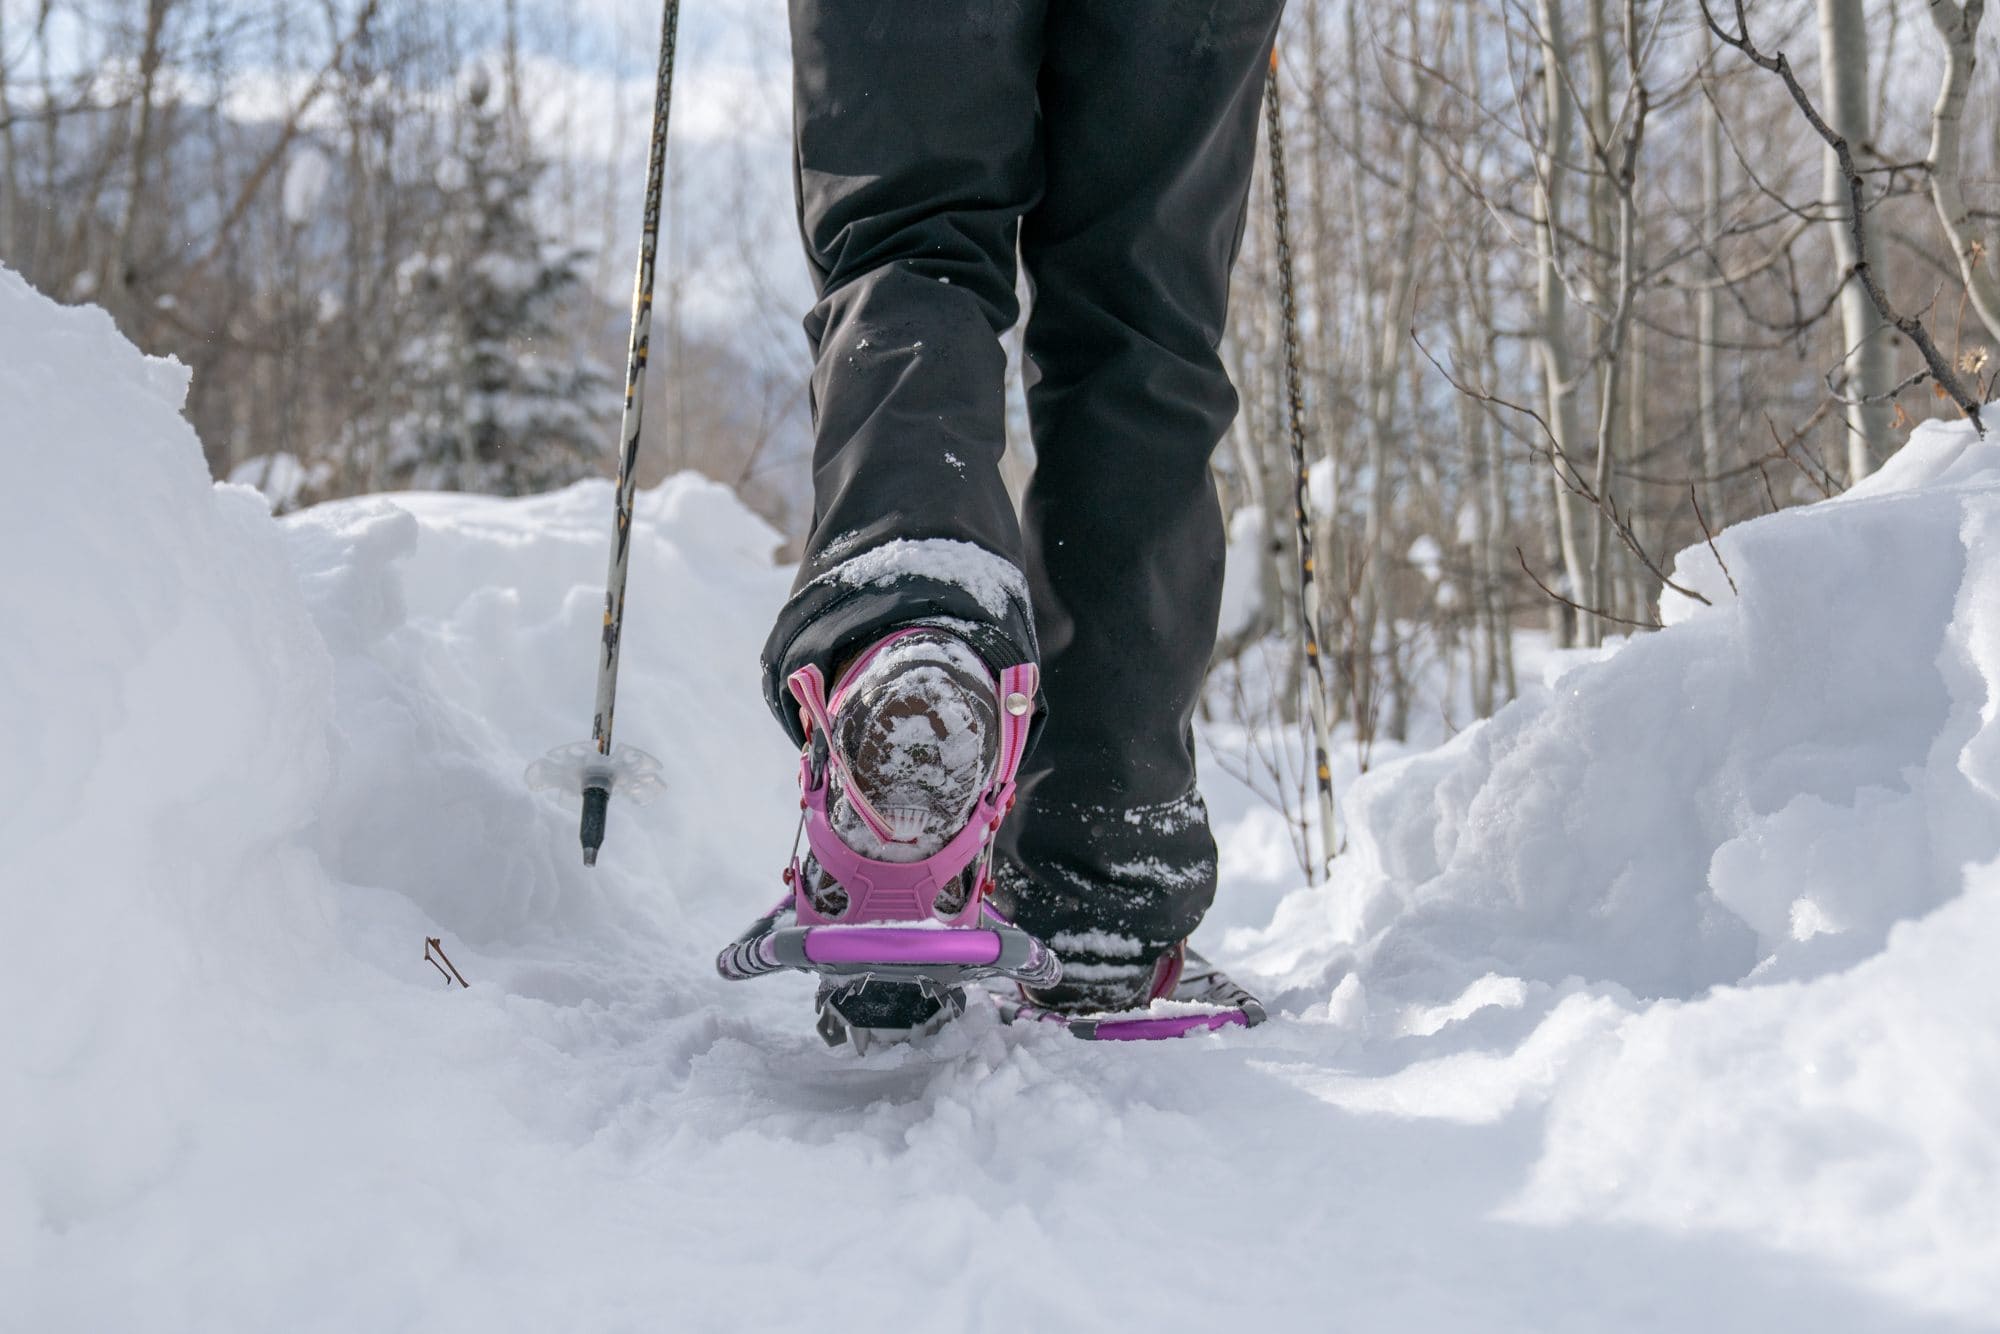
Besides your body weight, the added traction underneath your snowshoes is what keeps you grounded. Most models have crampons, also known as spikes, to help you keep your grip. If you are walking on flat terrain, spikes will be relatively flat, while snowshoes for icy or steep climbs have crampons with bigger “teeth”.
Tips for Choosing the Right Snowshoes
Snowshoes are made for three different types of terrain: flat, rolling, and mountain. An easy way to remember them is ranging from beginner to advanced or easy to difficult.
A few more things to consider when choosing snowshoes
- Choose snowshoes with a larger deck to float easily in deep, dry powder (like we have in Utah) or to bear a greater load, be it body weight or heavy packs.
- Women’s snowshoes are different because they have narrow bindings and/or decks to fit smaller boots. However, if you have a larger foot, consider buying a pair of men’s snowshoes instead.
- Many snowshoers like to use trekking poles for better stability and balance. Make sure your poles have a basket at the bottom so they don’t sink into the snow (ski poles work great too). If your trekking poles didn’t come with snow baskets, you can easily buy a set like these trekking pole snow baskets for less than $10 that work with most trekking poles.
What to Wear Snowshoeing
What you wear snowshoeing will be similar to the layers you’d wear for winter hiking. The key is to wear layers so you can add and subtract as needed as you warm up or as the temps change, and to wear a waterproof outer layer so you stay dry.
Here’s a quick run down, and for more info see our complete winter hiking clothing guide below:
>> See Our Complete Winter Hiking Clothing Guide
Best Beginner Snowshoes
Beginner snowshoes are built for flat terrain. Since they are designed for easy trails, they will have less traction than snowshoes in the intermediate and advanced categories.
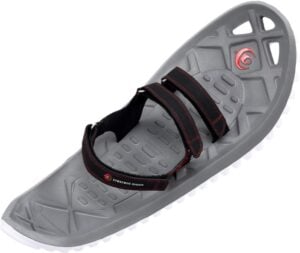
Crescent Moon EVA Snowshoes
The Crescent Moon EVA Snowshoes are lightweight and extremely easy to get on and off due to the hook-and-loop bindings. They’re ideal for flat or rolling terrain on packed snow, making them perfect for beginner snowshoers. These snowshoes are unisex making them easy to share too!
Check Price: REI
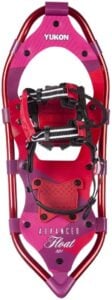
Yukon Charlie’s Advanced Float Snowshoes
If you’re looking for a snowshoe you can grow with, the Yukon Charlie’s Advanced Float Snowshoe is a great place to start. Don’t let the word ‘advanced’ scare you away, these are suitable for beginners and experts alike and they’re budget-friendly too. They come in two different sizes and the lightweight frames are made from sturdy aluminum. The Snow Motion axle system allows your foot to pivot with each step, increasing traction, especially on steeper slopes.
Check Price: REI
Best Intermediate Snowshoes
Rolling terrain is good for beginner-intermediate snowshoers or everyday snowshoeing. Snowshoes made for this type of terrain are more versatile and can bear a heavier load like backpacks.
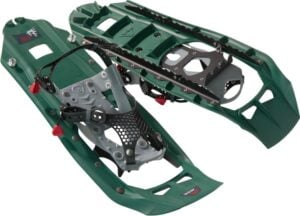
MSR EVO Trail Snowshoes
The MSR EVO Trail Snowshoes are a great all-around option that works well for both flat trails and rolling terrain. We’ve been recommending these snowshoes for years and this is their newly updated version. The bindings are easy and straightforward to use and provide just the right amount of stretch for added comfort without pressure points.
Check Price: REI
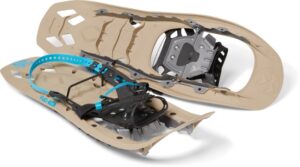
Tubbs Flex TRK Snowshoes
The Tubbs Flex TRK Snowshoes are designed to reduce strain on your calves, Achilles tendons, and joints. They’re easy to adjust to fit your boots and are easy to take on and off as well making them great snowshoes for beginner and intermediate snowshoers.
Check Price: REI
Best Advanced Snowshoes
Mountain terrain is the most advanced category of snowshoeing and thus you will find that the snowshoes in this category are generally the most expensive. These snowshoes are outfitted with sharp crampons that can dig into icy conditions and have heavy-duty bindings to prevent your foot from coming loose.
They’re designed to withstand the wear and tear of going off-trail in harsh conditions. Snowshoes in this category also often have optional heel risers which help reduce strain on your calves on steep ascents. If you think you are going to get serious about snowshoeing, you’ll be able to grow with snowshoes in this category.
Yukon Charlie’s Pro Snowshoes
The Yukon Charlie’s Pro Snowshoes are a great intermediate option for those looking to get a little more into the backcountry and trek through deeper snow and up steeper slopes. These snowshoes are designed with a Free Flex axel system that allows for a more natural movement up and down hills and they have integrated heel lifts that alleviate calf strain and fatigue. They also come with a pair of Pro Trekking poles with interchangeable tips.

Check Price: REI
Atlas Montane Snowshoes
The Atlas Montane Snowshoes are adventure-ready backcountry snowshoes designed to be unstoppable, but they can be used for any snowy trek, even if you’re a beginner but know you want to eventually try snowshoeing in a variety of terrain. The crampons provide traction in all directions for a more confident grip while the spring-loaded suspension ensures a natural stride. The bindings and straps make these snowshoes easy to take on and off, and the heel lift reduces fatigue on steeper terrains. If you’re looking for a high-performance snowshoe that can handle a variety of outings, this might just be it.
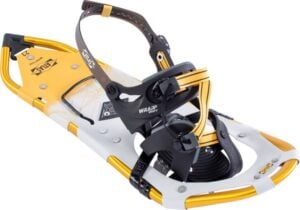
Check price: Women’s | Men’s
If you’d like to try out snowshoeing before investing in gear, REI rents snowshoes at some of their locations. Find an REI rental location near you and see what they have on offer.
How to Snowshoe: Tips for Getting Started
Learning how to walk in snowshoes
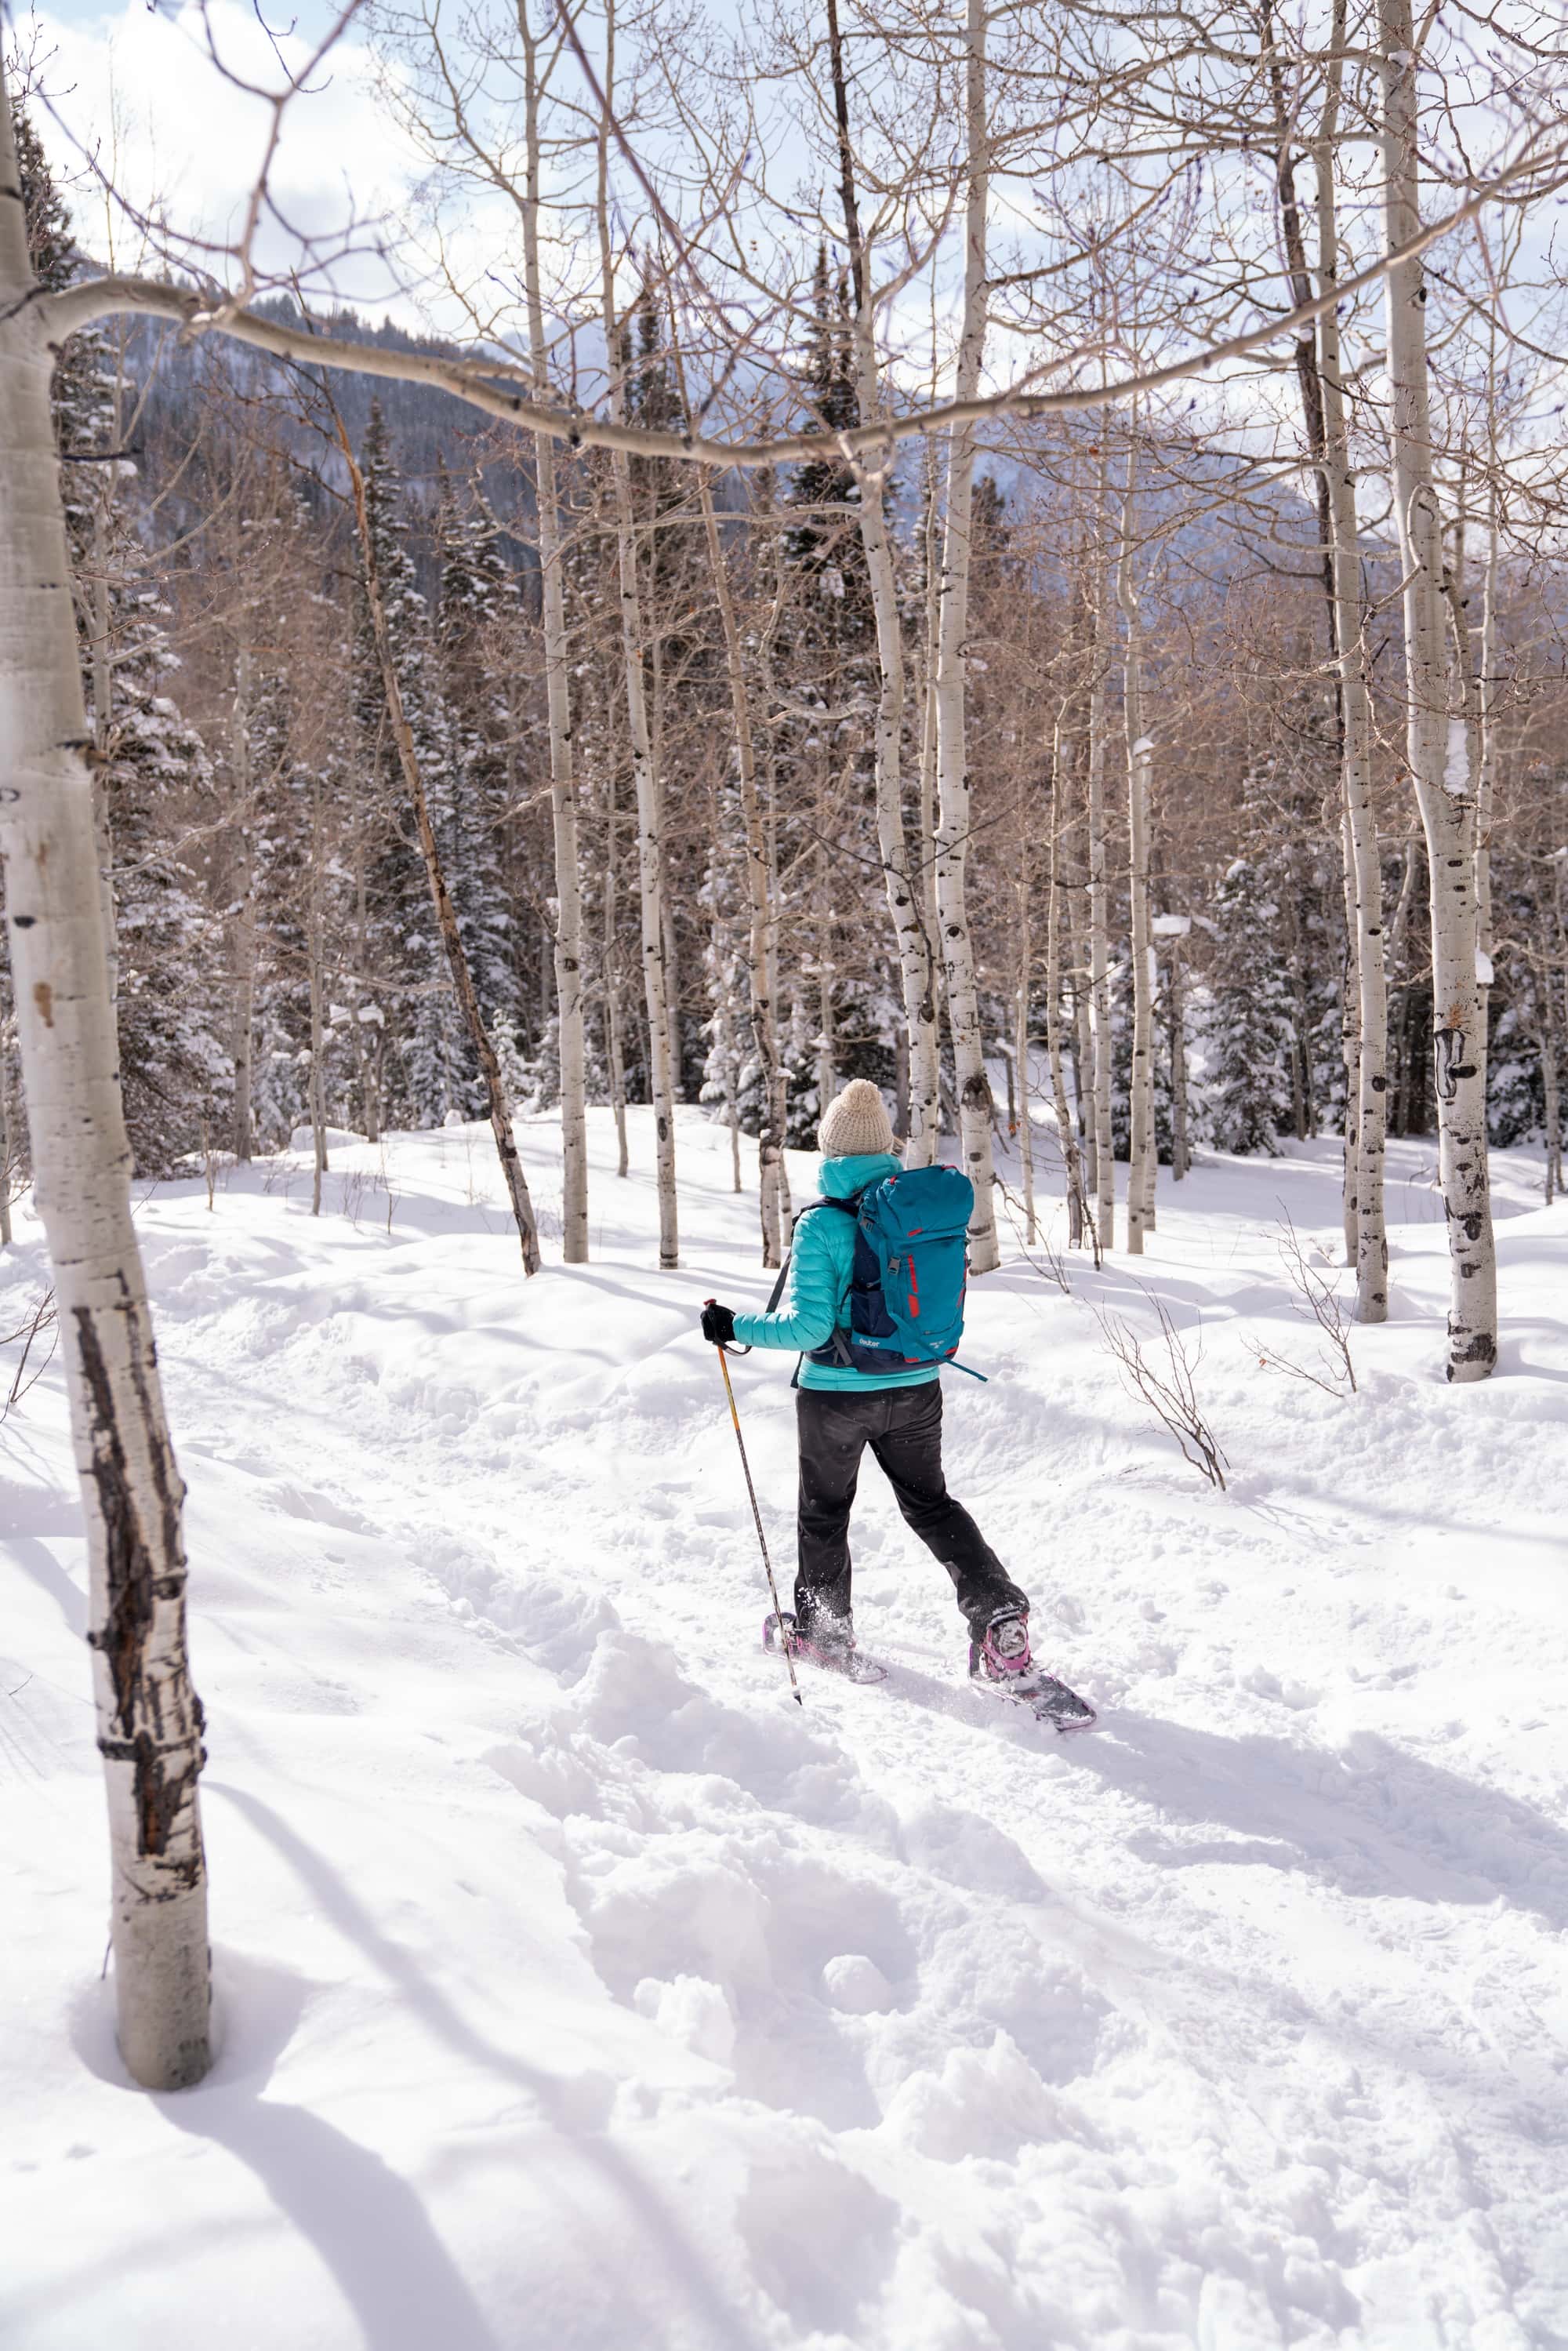
Learning how to snowshoe is as easy as putting them on and hitting the snowy trails. Many models are outfitted with straps, laces, or rubber webbing that you can simply pull on over your shoe. Make sure they fit snug and won’t come undone as you walk.
To learn how to walk in snowshoes, walk as you normally would with a more purposeful step. This ensures that you will have a good grip in slippery, snowy conditions or icy terrain and can easily adapt to unseen obstacles underfoot.
You might feel a little awkward at first, but once you get into your groove, it will start to feel more natural.
How to Find Snowshoeing Trails
Now that you’re booted up and ready to get out there, we bet you’re probably wondering how to choose a snowshoeing trail. It’s easy. Most hiking, walking, and biking trails double as snowshoeing trails during the wintertime.
When you are first starting out, an established trail provides a gentle surface with a clear path for beginner to intermediate snowshoers to enjoy the outdoors all year long. Once you’ve got more experience and are comfortable with navigation, you can venture a little further off the trail.
REI offers a variety of snowshoeing classes and events, including group hikes. If there aren’t any REI classes or events near you, check to see if your local resorts or mountains offer group classes or outings as well.
Here are a few blog posts to help you find snowshoeing trails:
Safety tips for snowshoeing
Being safe while you’re out on the trail or in the backcountry is a huge factor when it comes to learning how to snowshoe. We recommend that first-time snowshoers find a buddy and stick to well-marked trails, like cross-country trails.
When you’ve built up enough confidence to venture onto more challenging terrain keep an eye out for running water, tree and rock wells, and other winter hazards.
If you live in an area where avalanches are common, take a “know before you go” avalanche class. In this class, you’ll learn what to look out for, what warning signs to be aware of, and also about different safety gear like an avalanche beacon, shovel, and probe. REI offers a virtual avalance awareness class, you can search their events to find the next class available.
Also, be sure to follow your local avalanche center, they’re a great resource for knowing avalanche risk before you go.
Use precaution and stay safe by checking the weather forecast for your area with the NOAA Weather Radar app or Mountain Hub. When in doubt, don’t go out.
What to Pack For Your First Snowshoeing Trek
Before you strap on your snowshoes and grab your poles, take a minute to make sure you bring a few things with you as you head outside this winter.
Read Next:
Have you ever been snowshoeing? What are your tips on how to snowshoe and what are your favorite locations? Leave your comments and questions below!
Source link
